2006 Yamaha Rhino SE Gets Some Speed
Temperatures are dropping and the need for speed is in the air. . .Can you feel it?
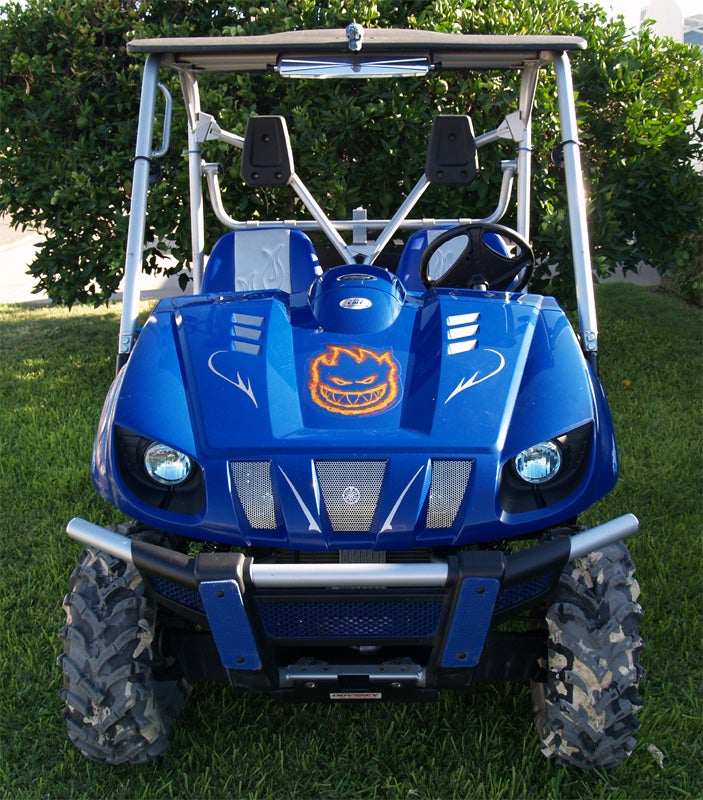
Today we’re going to wake up the blue horned creature so that it has the ability to sprint among the fastest of the crash(pack of Rhinos) just like it was meant to. We’re also going to spruce up the stock seats with some great looking seat covers that really set off the blue and silver colors on our special edition. So sit down, buckle up and grab on tight…because we’re going to make this Rhino charge!
Run Forrest…
We’re going to start off with a simple CDI upgrade, this small box will not only give you a higher rev limit, but it will also allow your Rhino that peppier feel off the line. The CDI is located in the battery box under the hood, simply lift up the battery lid, remove the bolt and nut securing the box, and then switch the rev limiters; and that’s it, you’re ready to go.
Grizzly power…
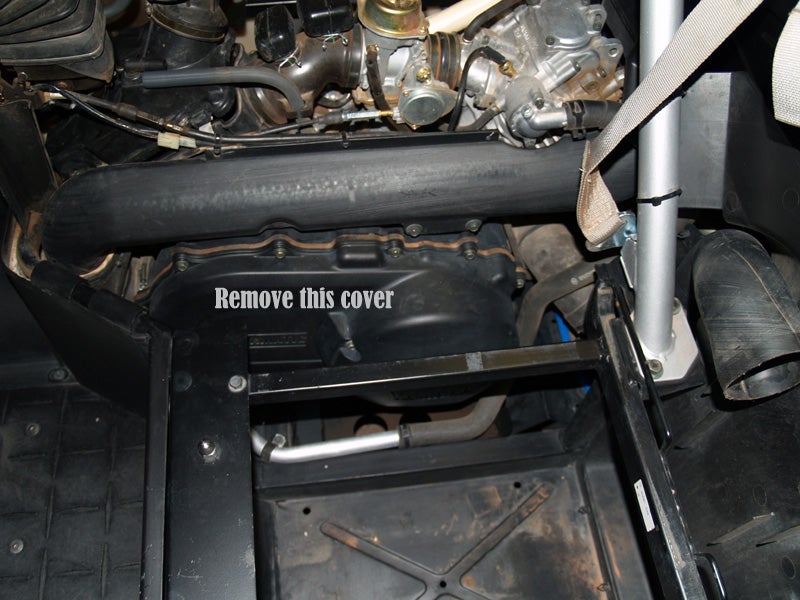
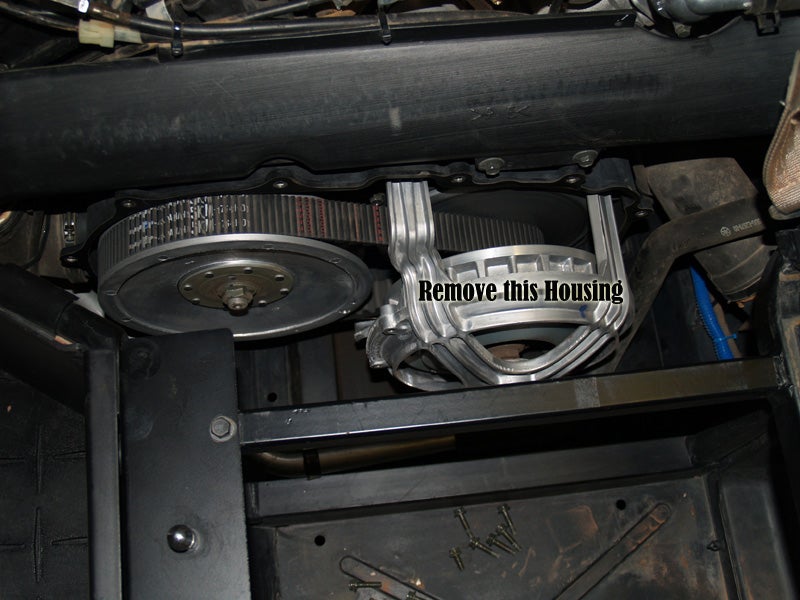
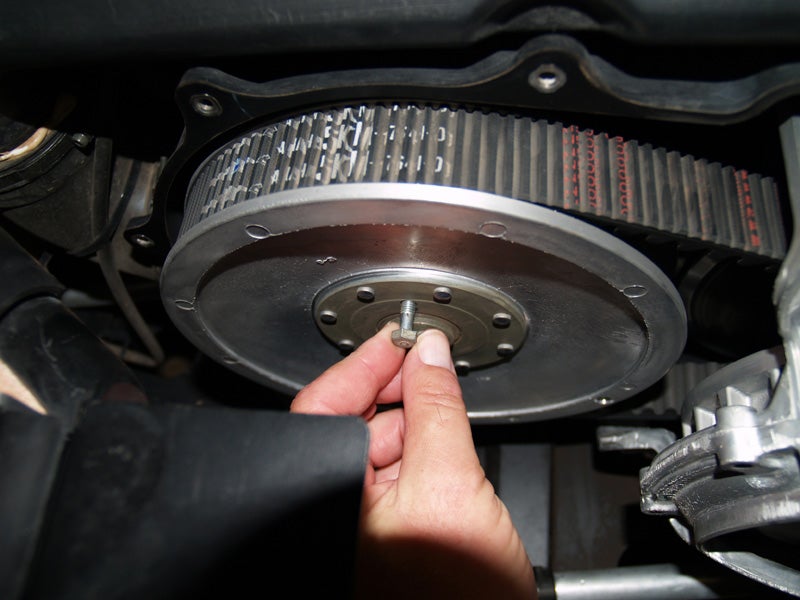
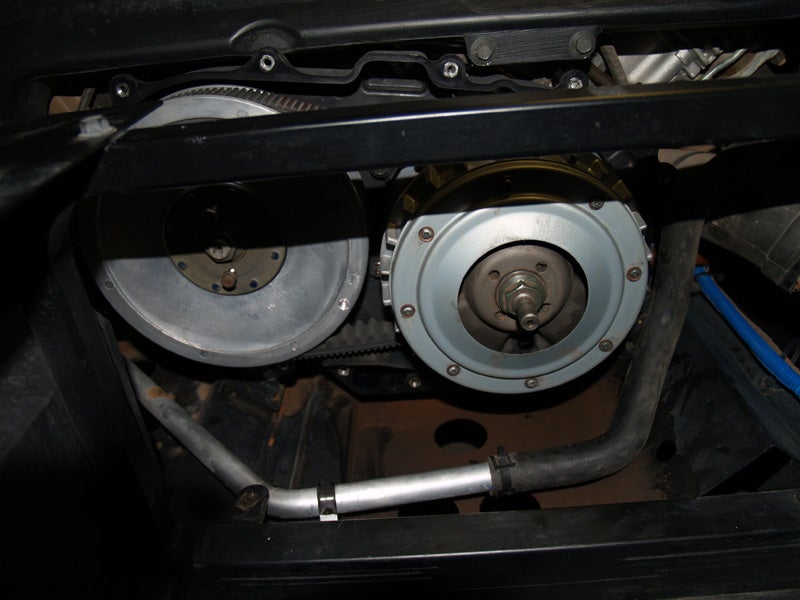
This next upgrade is going to take a little more time and effort, but in the long run you’ll be glad you did it. Replacing the Rhino clutch sheave with the Grizzly sheave will increase the top end speed, and lower your current RPM’s. For this job you can contact your local Yamaha dealer for the parts on the sheave replacement. The part numbers are as follows: Sheave: 5KM-17620-00-00 Seals: 93101-35001-00 (quantity of 2) Now that we’ve got all the parts needed for the job, let’s remove the driver’s seat and cowling so that we can begin to get our hands dirty.
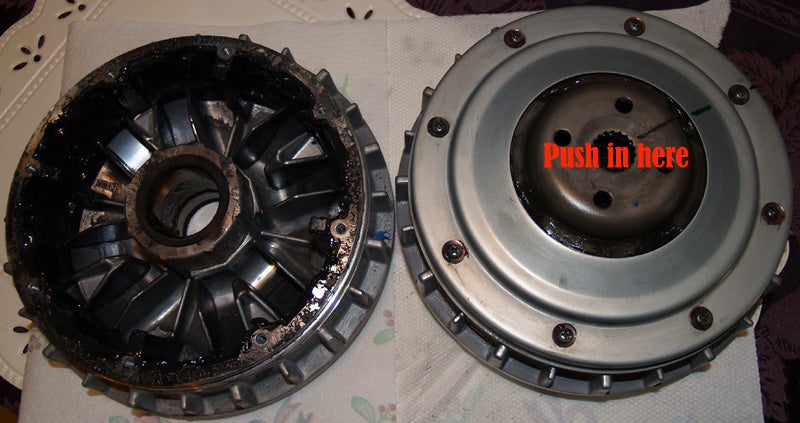
The cover you will need to remove is located on the drivers’ side of the motor.
With this modification you will experience a much higher top end speed than previously experienced in your ride. You won’t be disappointed!
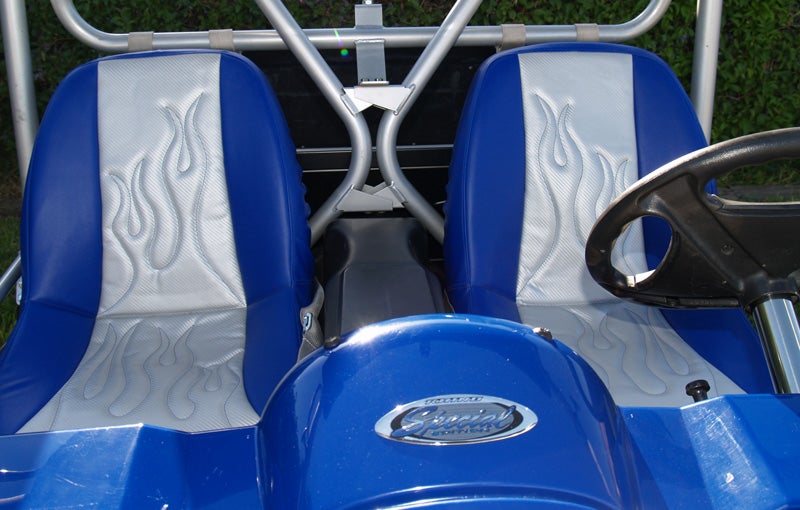
Comfortably eye catching…
Now that we’ve got a fast ride…let’s make it look the part! Installation of the new padded seat covers was quick and easy, just a couple of minutes per seat and as you can see, our special edition Rhino looks better than ever! Palo Verde Powersports provides wonderful workmanship, great designs, and a large array of colors and fabrics to choose from when it comes to Rhino seating. VP has been supplying seat covers to the ATV and Dirt Bike industry for the past five years, so moving into the UTV market seemed the next logical step. With over 1,000 patterns in stock for seating alone, VP is ready for your off-road seating challenges. For those of you looking for something special on your ride, VP can inlay laminated full color graphics into the seating…the skies the limit! I would like to thank Verde Powersports for their contribution and support of this Rhino Project. If you have any questions, feedback, or suggestions for his project please e-mail us at: bluehorn@off-road.com we look forward to hearing from you, until next month… As always, ride hard, tread lightly, and travel often… Mike Martin Verde Powersports: Rhino seat covers
|


|
Off-Road.com Newsletter Join our Weekly Newsletter to get the latest off-road news, reviews, events, and alerts! |
Follow @Off-Road
 Your Privacy Choices