Project Long Travel SCU Part 3: Assembly
Sand Cars Unlimited long-travel comes together
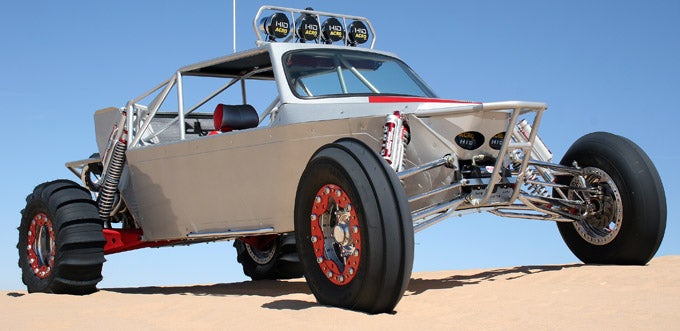
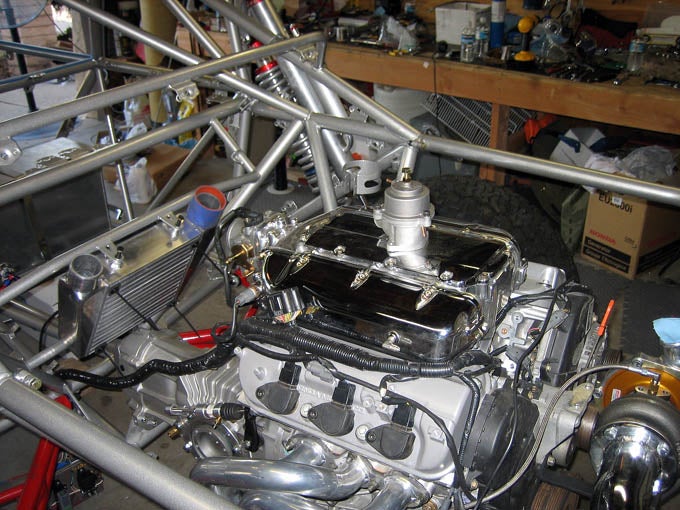
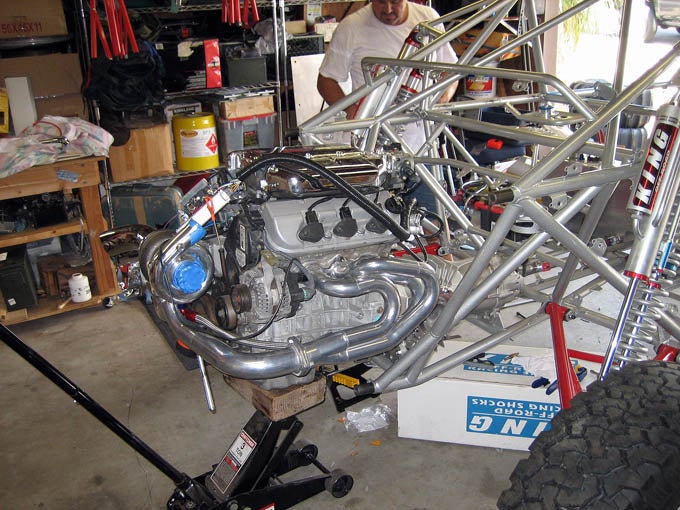
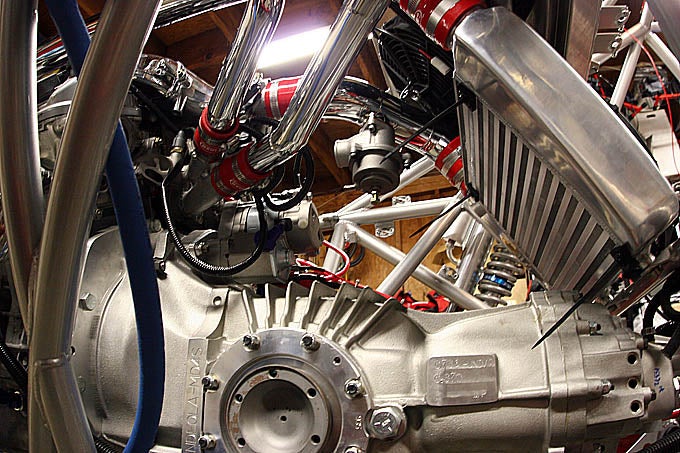
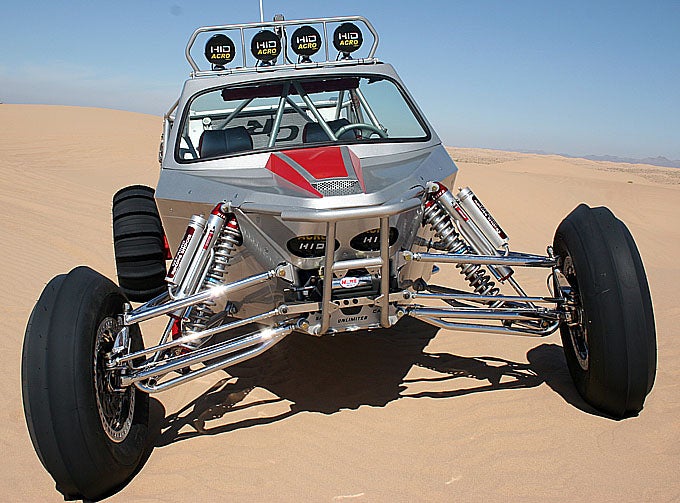
Project Long Travel SCU is finally fully assembled and running! If you have not been reading this 4-part series you can catch up by reading PART 1 which details Don at Sand Cars Unlimited and King Shocks and PART 2 which discusses the drive train. For part 3 we will discuss assembly and more of the parts we used.
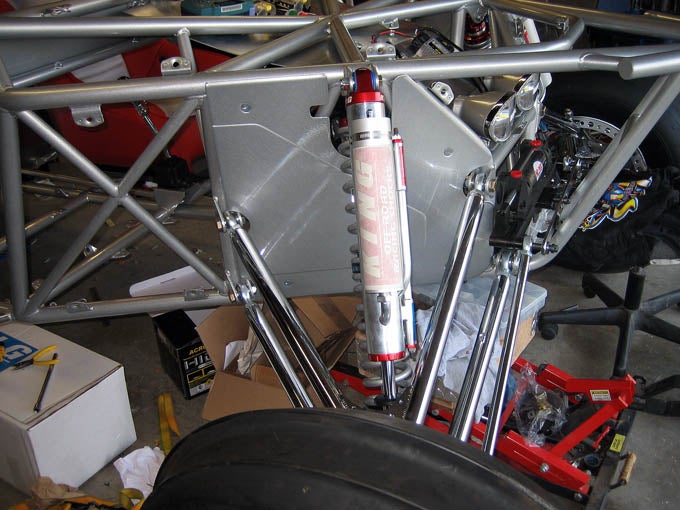
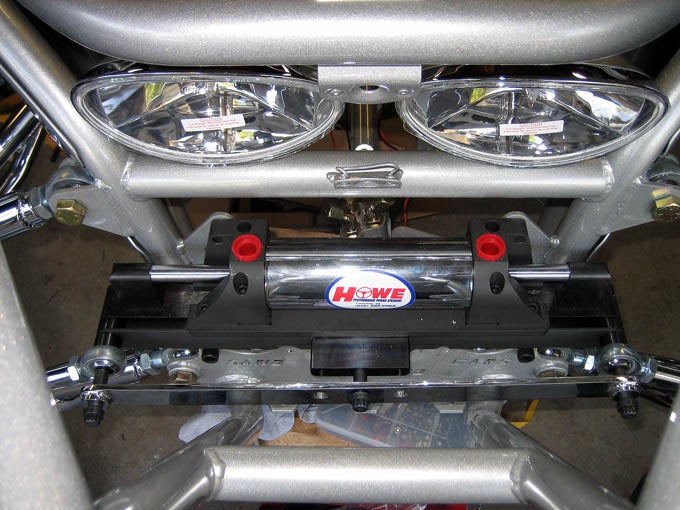
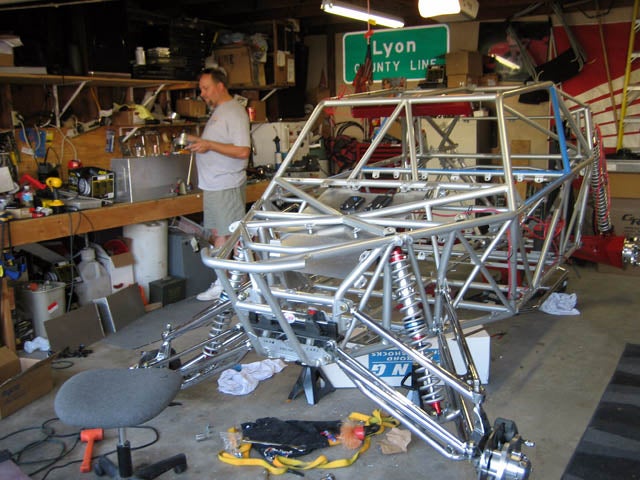
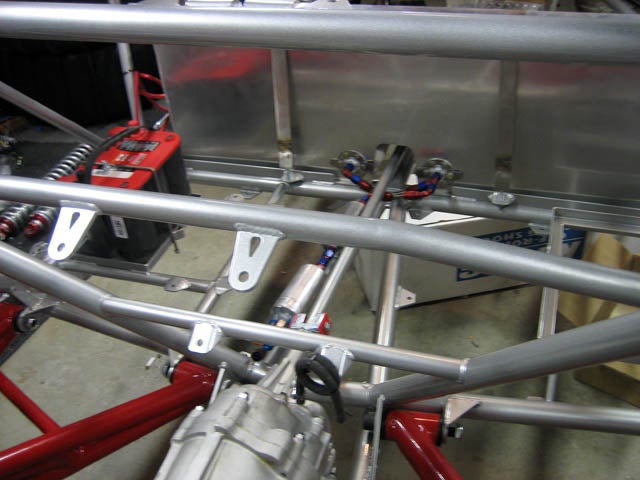
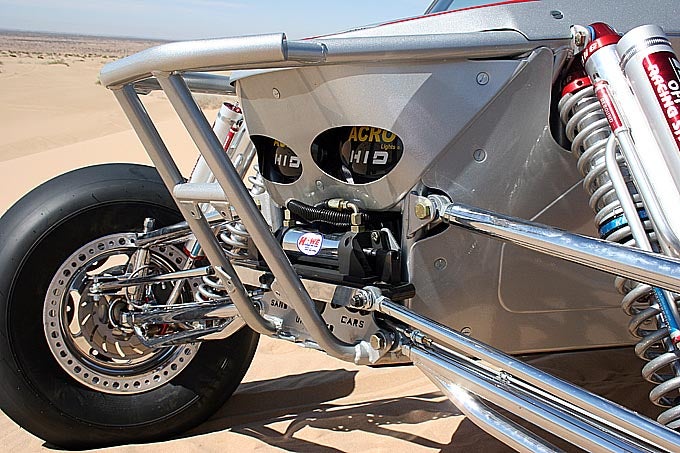
Once we picked up our chassis from ECP Powder Coating (See Powder Coating 101) we began by installing the suspension. All of the parts fit extremely tight due to the powder coat. We used our BRM (Big Rubber Mallet) to help get everything in place without damaging the powder coat. We started with the rear suspension installing the trailing arms, shocks, hubs and 4-piston brake calibers.
By the time the rear end was assembled Labor Day weekend was upon us and we held a "build party". A group of friends got together for the long weekend to help get Project SCU on its feet. We started with the front suspension which seemed to take the better part of a full day. We got it installed and took measurements to see how the much adjustment we needed to make to the hiem joints on the front a-arms. After installing, disassembling, adjusting, and reassembling about a dozen times, we finally got the front end dialed in.
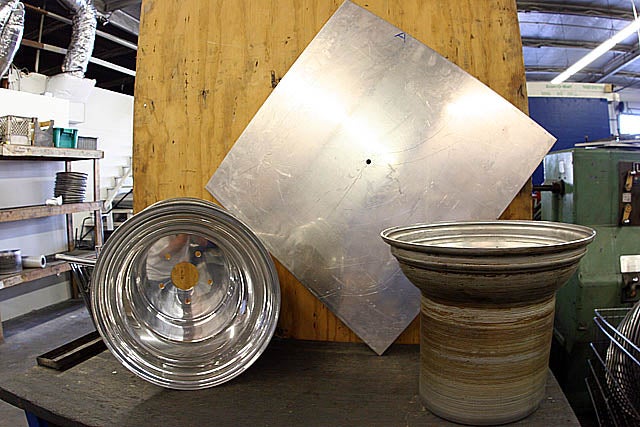
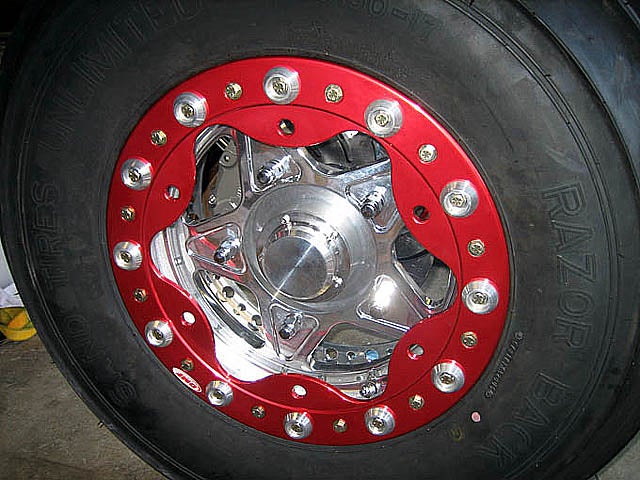
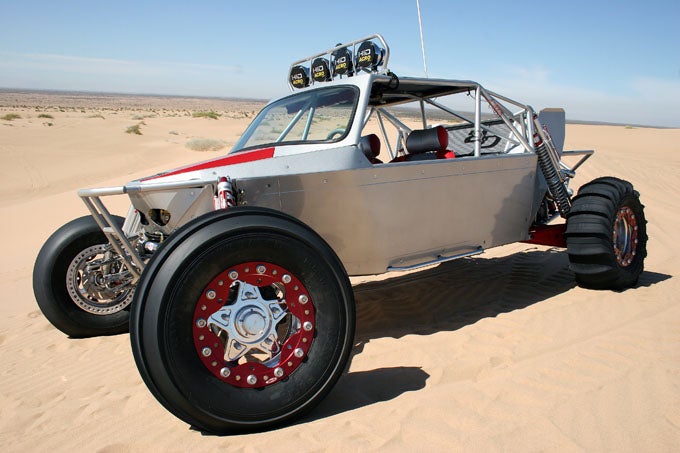
Next it was time to mount the Sand Tires Unlimited tires to the wheels. For wheels we went with CMS wheels with red anodized OMF bead locks. We went with CMS due to their ability to make any width wheel you need. In our case we wanted a narrower rear wheel with a 4" rear offset to allow us to fit the car into the trailer without having to change to skinny tires. CMS starts with a flat piece of aluminum and using a press, presses it into a wheel half. Once the 2 halves are made, depending on the customers needs, they take the correct size wheel halves and weld them together. Once welded the wheel goes through various machining processes to ensure it's perfectly round.
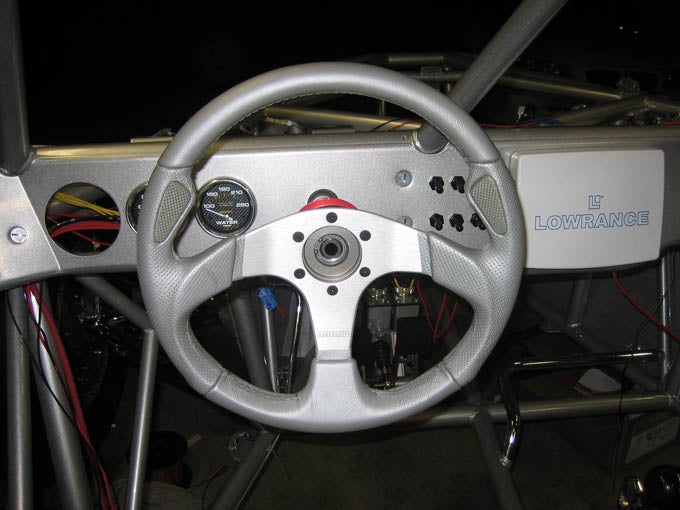
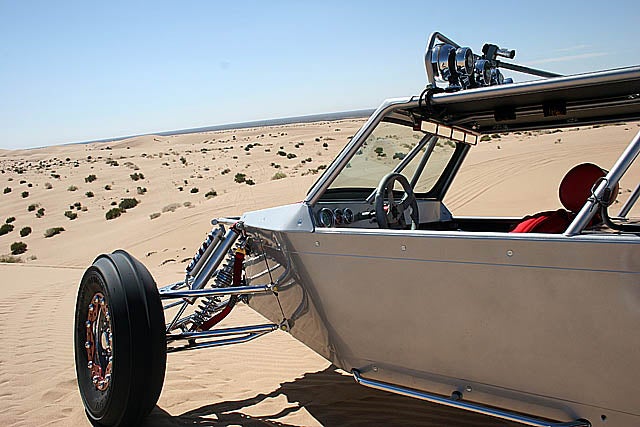
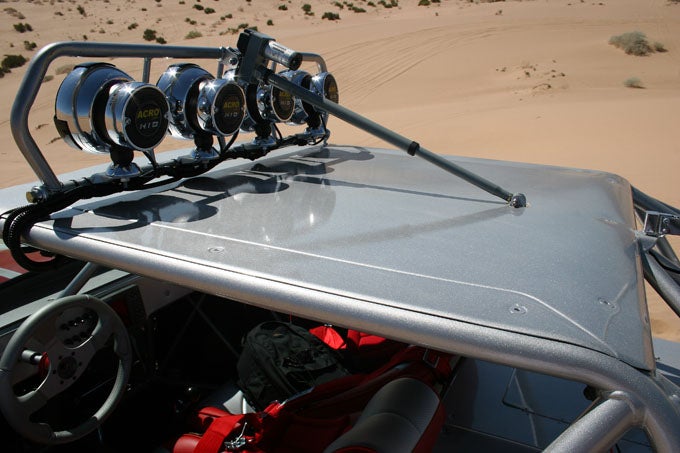
During our build party we assigned one guy to start the wiring process. He marked and drilled holes in the dash for the switches and mounted the fuse blocks on a plate under the hood. He also mounted our Autometer carbon fiber gauges. Autometer sent us a tachometer, oil pressure, water temperature, and gas gauge. They also sent their new red bulbs to light up the gauges. We topped off the dash with a Lowrance GPS unit. The 480 Baja model has a 4" color screen with many functions built in. Besides allowing us to make way points and find different spots we previously marked in the dunes, it has a voltage gauge built in. We know the Lowrance GPS will come in handy more than once!
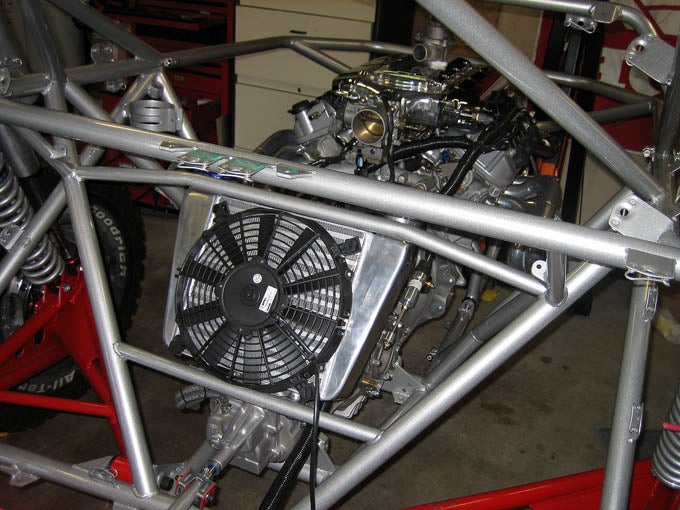
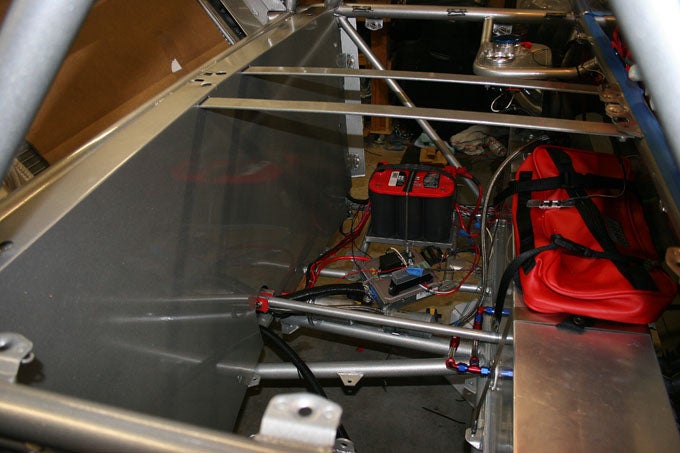
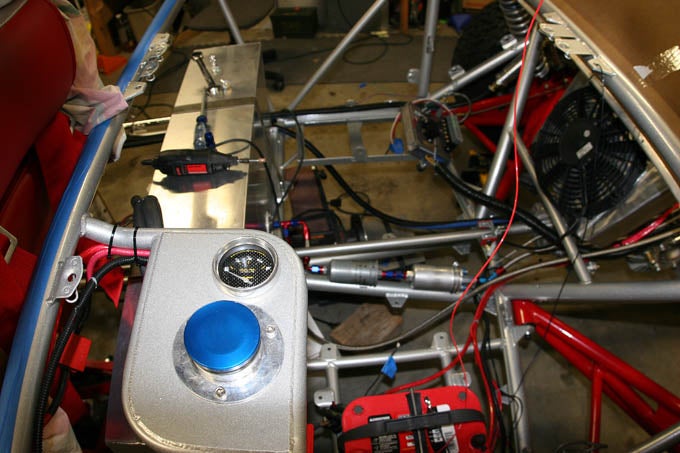
Our wiring guy started by soldering connections to wires to run from each switch to the fuse blocks then began wiring the whole car. A custom wiring job is no simple task! Each electrical item on the car needs its own fuse and circuit. We used 7 double throw switches and one momentary switch (for the ignition) in our build. Each throw of a switch has a specific function such as one throw will be used for 1 ACRO HID light, and the 2nd throw will be used for another light. For our car were are running 6 lights on 3 switches, whip light and interior lighting on another switch, dash and tail lights on another, intercooler fan on a switch, and seat heaters on the last switch (yes we have seat heaters!, it keeps the wife warm on cold night rides). We also installed a large circuit breaker between the battery and the starter, as well as an 80 Amp fuse between the battery and the fuse panels. Once the basics were installed we began running a few wires through the frame tubes for roof lights, whip and tail lights, interior lighting, and a light bar actuator. The wiring seemed to take forever but we got it done!!
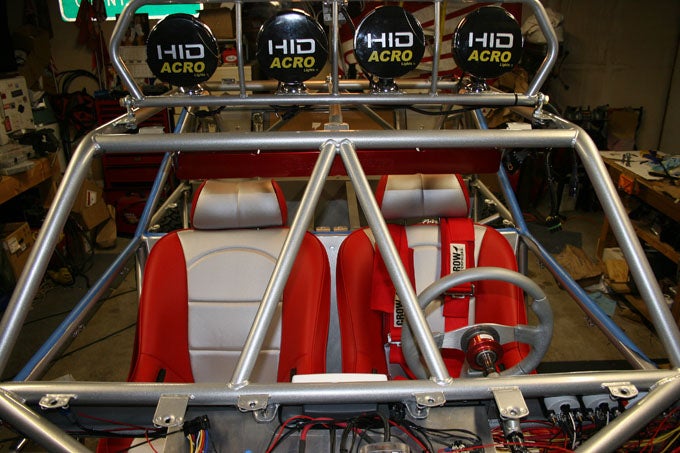
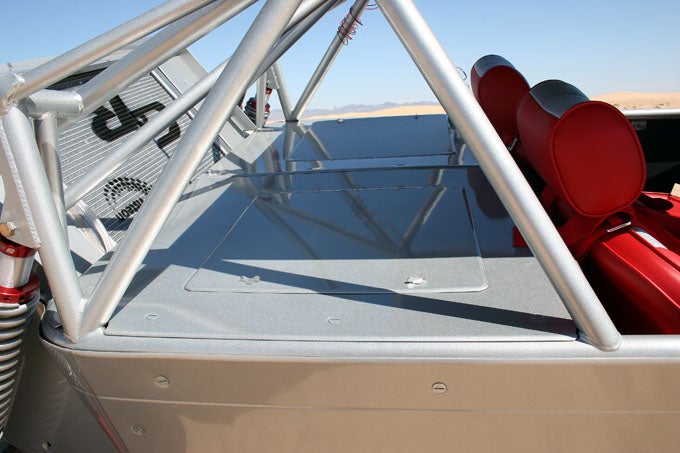
Next it was time for the Beard Seats. Beard was founded by Ed and Barbra Beard in Arizona in 1976. Their 1st product was a version of their super seat which was mainly used in off-road race cars at the time. In 2000 they sold the business and retired. Beard, a division a Red Art moved to Anaheim, CA and continues to make ultra high quality seats for a wide range of applications. We used their Ultra seat with adjustable head rest and seat heaters. We had them made 2" wider and reclined an extra 3" to fit our car. We had them upholster the seats in high end, red and silver vinyl to match the colors of the car. We also ordered them with 'belt sealers' to try and keep sand out of the interior of the seat. For belts we used the red Crow 5-point harnesses. Crow has been in business since the 90's and makes many types of racing products from seat belts to racing suits.
While this article does not cover the complete build it does give a good idea of what we went through. Building your own car is a lot of work and can be frustrating at times but in the end the process will instill a in you a sense of pride of your own car as well as knowing the car inside and out in case there are ever any problems. Next month we will take you on a ride in the dunes with the newly built car! Sources: OMF Performance Autometer Lowrance ACRO Lights RedArt CROW Enterprizes
|
|||||||||||||||||||


|
Off-Road.com Newsletter Join our Weekly Newsletter to get the latest off-road news, reviews, events, and alerts! |
Follow @Off-Road
 Your Privacy Choices