Jeep Cherokee XJ Rugged Ridge Fender Flare Install

Nov. 10, 2016 By Jim Brightly, KF7SCT
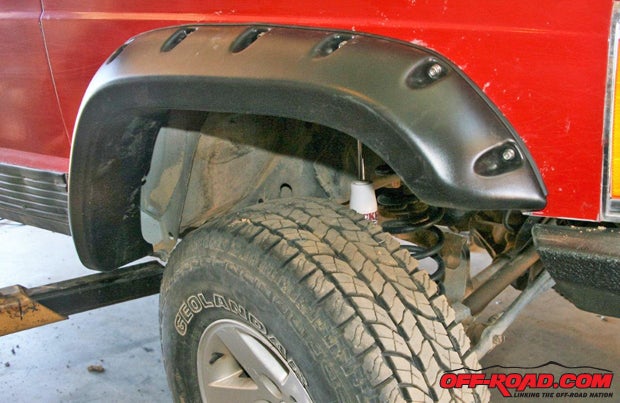
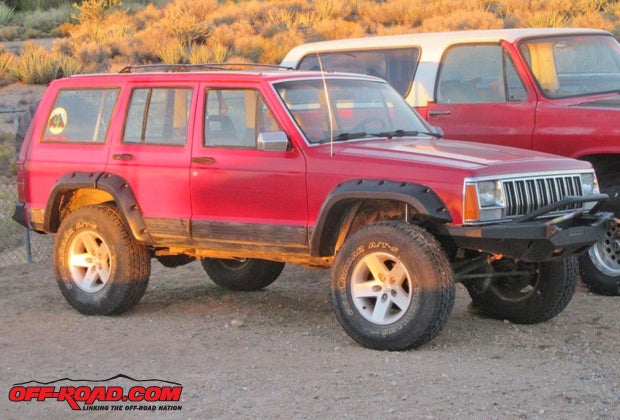
The Rugged Ridge fender flares can be painted and give the Cherokee a great look, while being able to handle whatever the trail may throw at them.

As I said in an earlier article, when building a daily driver for an avid off-roader, who also happens to be a high school student in Southern California, one has to consider California’s more stringent vehicle regulations. For instance, all tire treads have to be covered by the vehicle’s fenders to reduce the likelihood of road debris being thrown up by the tires. A set of Rugged Ridge extended fender flares takes care of these requirements for the SoCal Cherokee. You should check the regulations for the state in which you reside, as these same requirements may pertain to you.
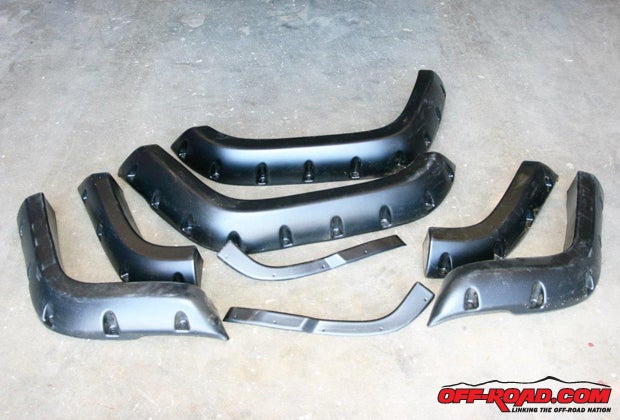
Lay out all the parts and verify that everything is in the package before starting the install. Read the instructions a few times as well, and then follow all the marking instructions.

Even though, in my opinion, XJ-model Cherokees are one of the “best bangs for your bucks” Jeeps that are available today; in other words, you get more for your dollar if you buy one of these fine SUVs. You have to be careful, though, because new parts for them are being dropped from catalogs because of their age, not because of their popularity. Rugged Ridge, Omix-ADA, and a few others are still maintaining a good selection of aftermarket parts for them.

My younger son, Chad, and I are slowly building a 1990 Cherokee Laredo for his son, Cash, to be a daily driver (to and from school and work) and an off-road weekend warrior for camping trips to the trails of SoCal and Arizona. We’ve already lifted the Cherokee and gave it a set of Rubicon wheels and Yokohama Geolandar A/T tires, replaced its injectors, protected it with steel bumpers, and now we’re making it safe for the highways of SoCal with wider fender flares.
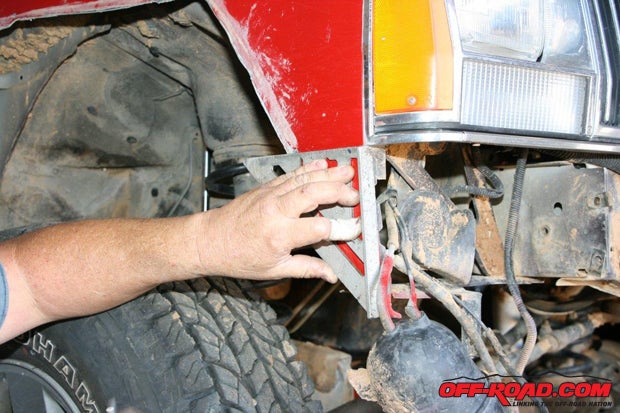
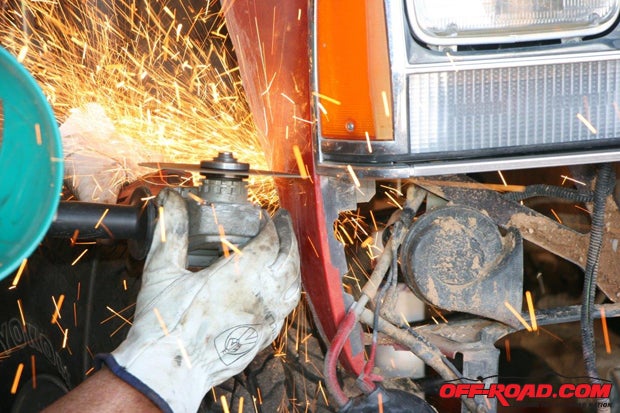
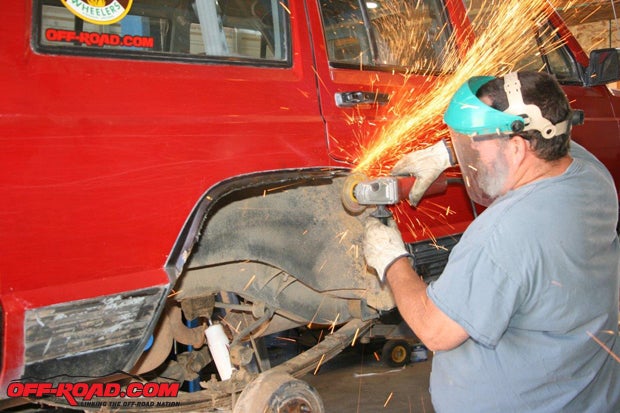
We got lucky! Fortunately, all the trimming we’d done for additional tire clearance before the flares arrived worked in our favor. About all we hadn’t done yet was finished the front fenders. Use a carpenter’s square for a straight line.

Cut the corners off with either tin snips or a cutting wheel. The cutting wheel is the easier of the two.

The fender flares feature a stylish design while also protecting the vehicle’s paint from flying rocks and mud. The fender flares are constructed from durable, UV-treated ABS with a slight texture. The Rugged Ridge all-terrain fender flares are paintable—although we left them as is—and provide a great look, while being able to handle whatever the trail may throw at them. They are designed to fit factory mounting points with durable, rustproof stainless fasteners.
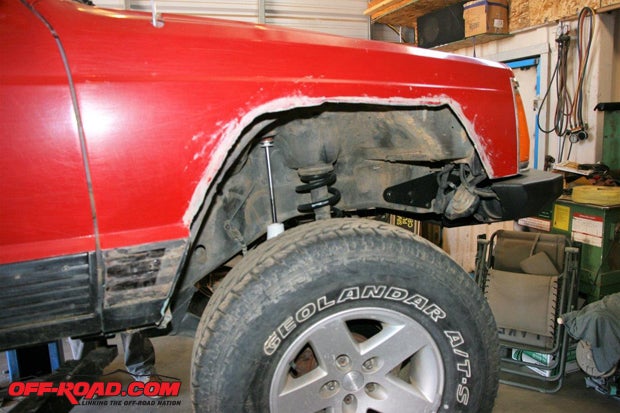
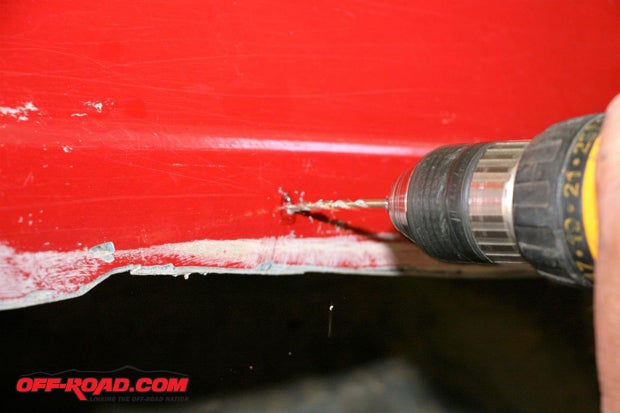
With all the trimming finished, you’ll need to mark the mounting holes for the flares. Hold the flare in place and mark each hole with a Sharpie.

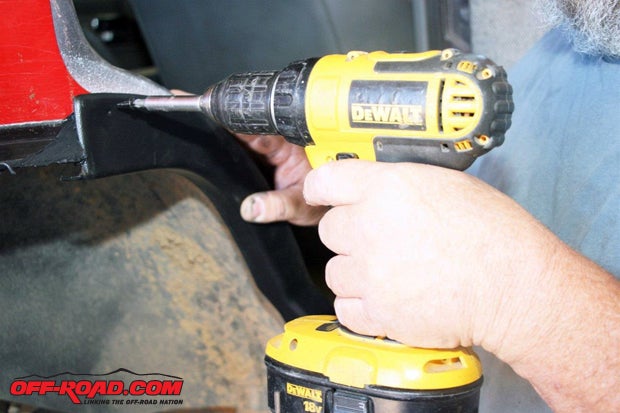
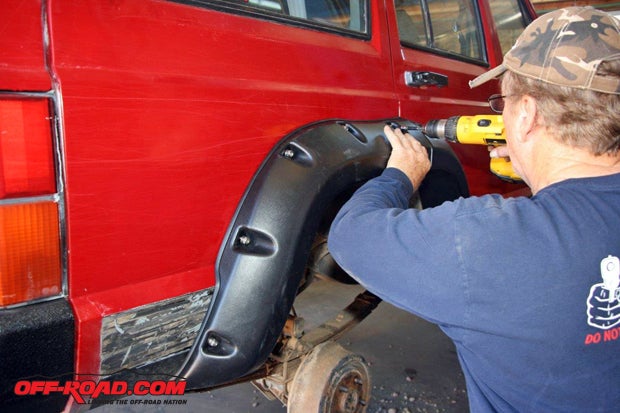
Drill a small pilot hole (3/16-inch) at each mark on all four corners.

Before beginning the install verify that all parts are in the package and read the instructions through a few times. Remove any OEM flares or trim from the Cherokee’s four fenders.
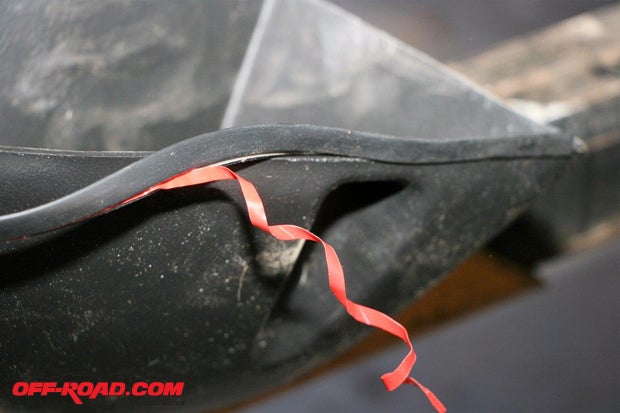
Clean the flare’s inside mounting lip edge with rubbing alcohol so the sticky edge trim can adhere to the surface. Remove the red tape and begin applying the edge trim, covering on a few inches at a time. Be careful to not stretch the edge trim as it may shrink after application if you do.

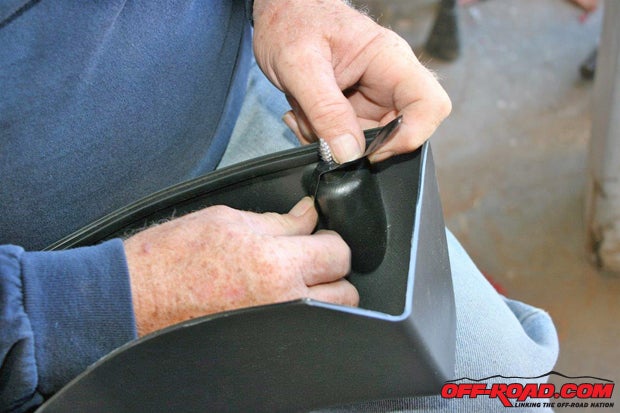
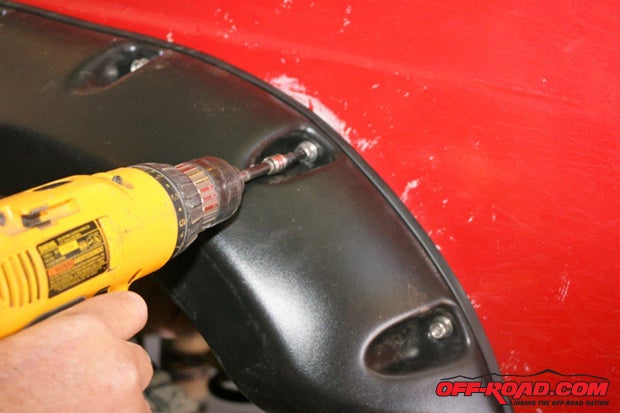
Carefully hold the flare in place without distorting it and start the bolts. Before inserting each bolt into its hole, place a washer on it, insert it into its hole, and slide a rubber spacer on the bolt before threading it into its hole in the Cherokee’s fender. (Rugged Ridge’s instructions have an illustration showing this assembly.)

Both front fender flares are in place. We started with the fronts because they are just one piece while the rear flares are two pieces.

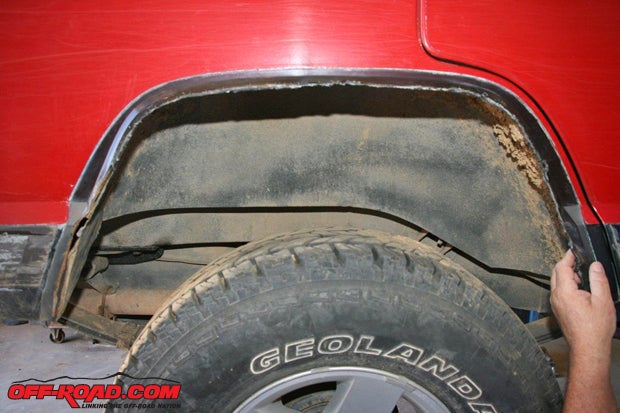
Once the front flares were finished we moved to the rear fenders. As in the front, the rear fenders were already somewhat trimmed for tire clearance.

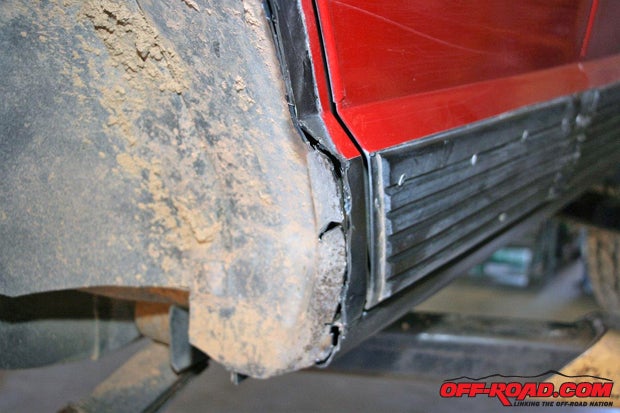
You’ll have to cut back the rocker panel trim.

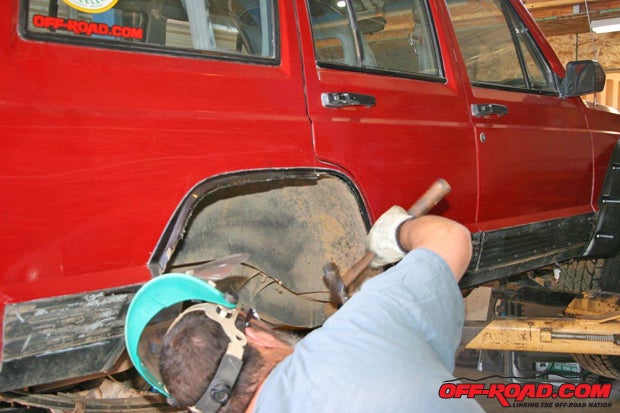
You may also have to “massage” the inner liners and/or the fenders’ edges with a hammer, depending on how much trail time your Cherokee has seen.

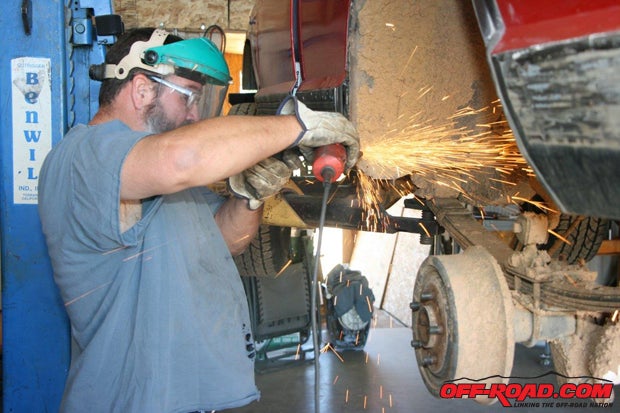
After holding the flares in place, we found we had to trim some additional metal away.

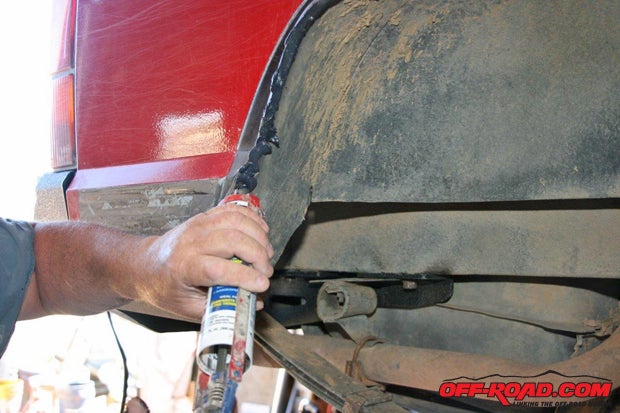
After trimming the fender away, we had to apply a sealant to the inner and outer fender joint on both sides.

Both sides required additional trimming, additional massaging, and sealant.

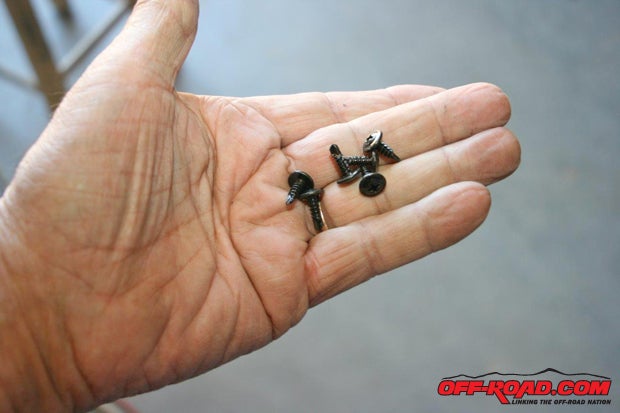
These small self-tapping screws are for the inner trim piece.

At the rear door opening, secure the dog-leg shaped trim against the body with the supplied self-tapping screws.

After drilling all the pilot holes in the rear fenders and doors like you did for the front fenders, slip all the bolts, washers, and rubber spacers into place on all four flare pieces.

Bolt all four pieces into place.

I’d also like to thank Kevin Lake and Mike Barnes for all their experience and knowledge in their assistance with this installation.

Source List:
Rugged Ridge
www.ruggedridge.com

Summit Racing
http://www.summitracing.com/


Off-Road.com Newsletter
Join our Weekly Newsletter to get the latest off-road news, reviews, events, and alerts!