Latest
News

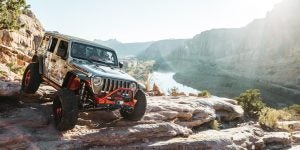
All-New 2025 Toyota 4Runner Debuts with Turbo Power and Off-Road Upgrades
After a staggering 15 years, the iconic Toyota 4Runner gets a complete overhaul for the 2025 ...Desert Racing
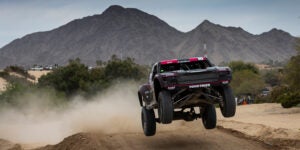
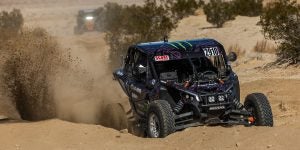
Toyo Tires Records Fourth Consecutive SCORE Overall Win
Alan Ampudia, in collaboration with Toyo Tires, secured the overall victory at the 37th SCORE ...News
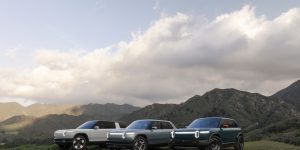
Rivian Unveils New Electric SUVs: R2, R3, and R3X
Rivian sent shockwaves through the electric vehicle world yesterday, unveiling not one, but ...Products
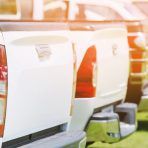
The Best Truck Covers
May 2, 2023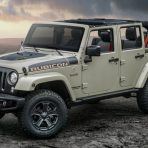
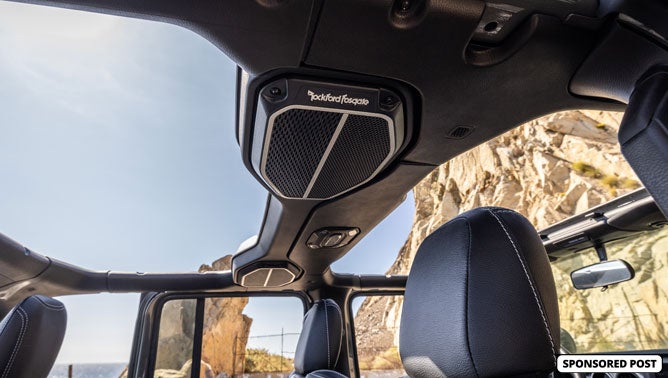
Best Jeep Wrangler Subwoofers
April 5, 2023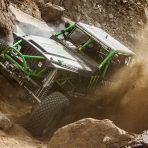
Beadlock Wheels Buyer’s Guide
January 25, 2023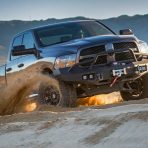
Best Sand Tires For Your Jeep or Truck
January 15, 2023Uncategorized

Watch Kawasaki’s Super Bowl Ad Again
Super Bowl 58 brought its annual showcase of memorable commercials, with the Kawasaki Ridge ...Racing
Polvoorde, Toyo Tires Triumph in Demanding Off-Road Race
In the 2024 King of the Hammers Toyo Tires Desert Challenge, held in Johnson Valley, ...Ford
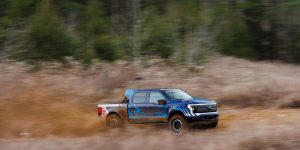
New F-150 Lightning Switchgear Debuts at King of the Hammers Event
Ford Performance has unveiled the F-150 Lightning Switchgear, a new high-performance electric ...Toyota

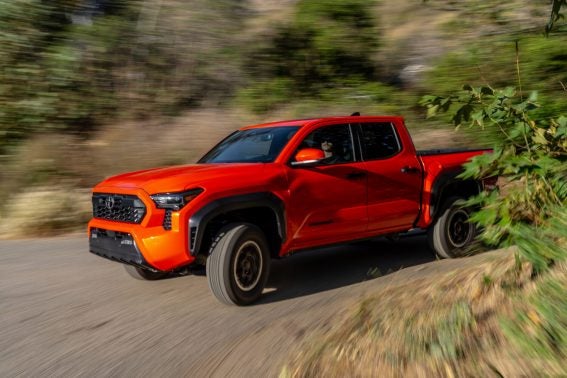
Video: 2024 Toyota Tacoma Trailhunter and TRD Pro
While first drives of the all-new 2024 Toyota Tacoma hit a few weeks back, notably absent were ...Uncategorized
ActivAir by BFGoodrich: Revolutionizing Tire Pressure Adjustment On the Go
BFGoodrich Tires, known for creating tires suitable for challenging terrains such as desert ...Wheels & Tires

New BFGoodrich Tire Engineered for High Torque and Tough Conditions
BFGoodrich Tires has announced the launch of its new BFGoodrich HD-Terrain T/A KT tire, ...Uncategorized
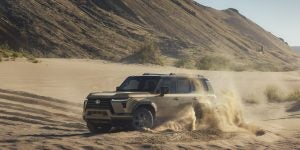
Introducing the 2024 Lexus GX: Rugged Design Meets Advanced Technology
Lexus has unveiled the 2024 GX model, an update to its mid-luxury SUV line, first introduced to ...Ford
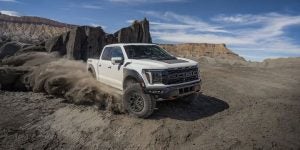
Ford Unveils its Most Powerful Full-Size Truck
Ford has unveiled the 2024 F-150 Raptor R, the latest addition to its lineup of off-road ...Competition
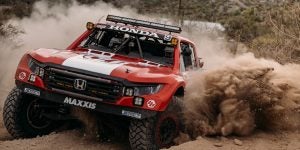
New Challenge for Honda: Trophy Truck Racing at Baja 1000
The Honda Off-Road Racing Team, previously dominant in the Class 7 competition, has shifted its ...News
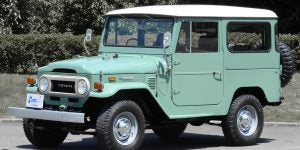
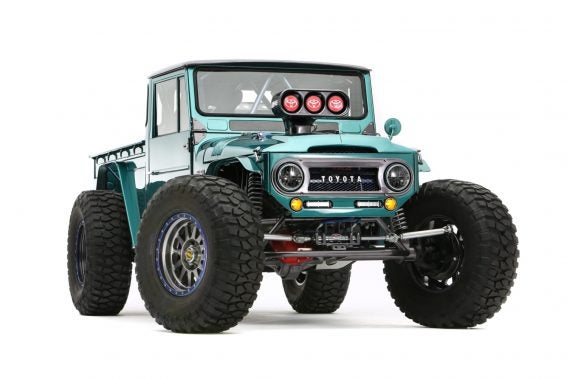
Toyota Files Trademark for ‘Land Cruiser FJ’
Toyota has filed a trademark application in Japan for a vehicle to be known as Land Cruiser FJ. ...Accessories
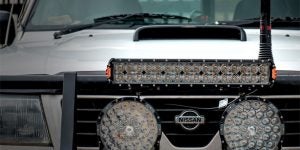
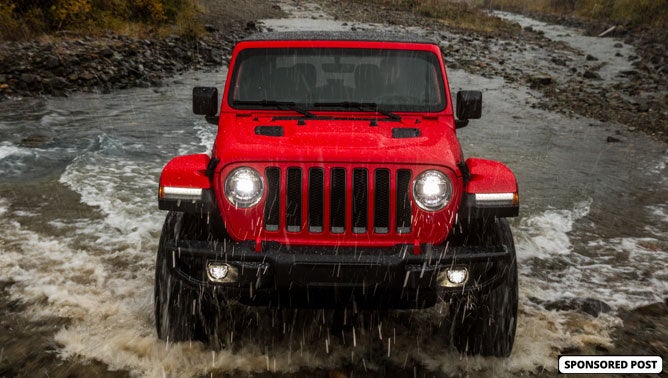
The World’s Best Off-Road Lights Are Finally Available in North America
Most off-roaders add additional lighting to illuminate the trail when the sun goes down. Until ...News