When you were 12, your parents kicked you out the door if they caught you sitting on your butt. It didnt matter to them if you decided to throw a football or rocks, they knew the truth: time wasted is time lost, doing nothing creates nothing, and an object at rest tends to stay at rest. Driven out of the house at the tip of a wooden spoon, you were much more likely to discover the awesomeness of a tight spiral, the intrigue of tadpoles, or how to keep a wheelie from turning into a flaming pile of wrecked spokes and reflectors. Guess what: the only thing thats changed is now you have to kick yourself out the door.
Youre a big boy: you have much better toys than when you were a kid. Get outside (the garage counts) and play with them. This is your official warning: Off-Road.com orders you to get to the garage (or the driveway, the barn, the carport or wherevers clever) and start what youll finish, or finish what you started. Do a to-do thats not much to get done.
You know the projects were speaking of:
- little wiring fixes
- A-arms wanting a squirt of the sticky red stuff
- a better shifter bushing
- bulbs that needs replacement
- something tricky, like the signal-intermittent mod
- new brake pads
- check the blinker fluid
Whatever: the list of one-hour things your rig needs is as long as your arm, but the excuses for not getting off your butt isnt. Garage it up.
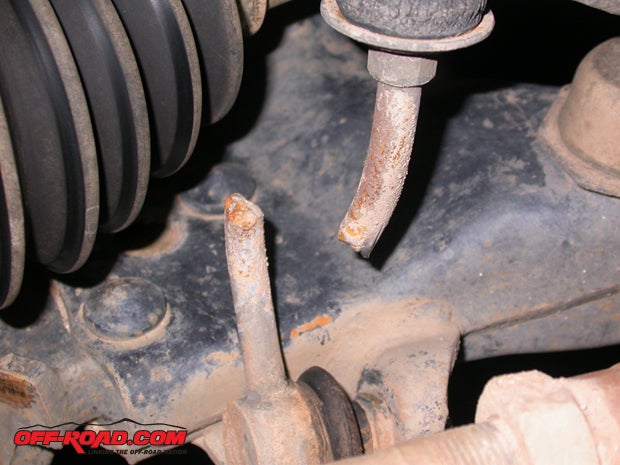
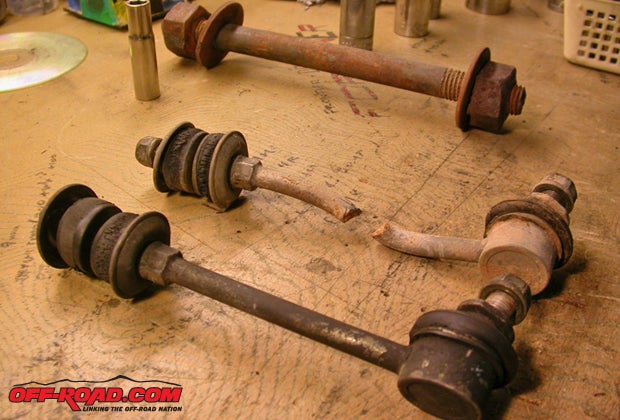
1. R&R Sway Bar Drop Link: 20 minutes a corner, plus remembering to pick one up.
On some trucks (IFS especially), the sway bars act as a droop limiter. That means theyll take some abuse. Ironically, the broken link on this truck was original and didnt fail at some ridiculous dangle moment: it croaked on the access road. We grabbed a replacement at the junkyard from a truck that was in better shape than the one we were driving... It doesnt hurt to remove that 20-year old OE rubber bushing either (even if it is high-Q Toyota rubber), and replace it with 17 year-old rubber.
Did you know that more than half of the vehicles in a junkyard (reportedly more than 70% in California) are impound forfeitures, and not zeroed-out wrecks?
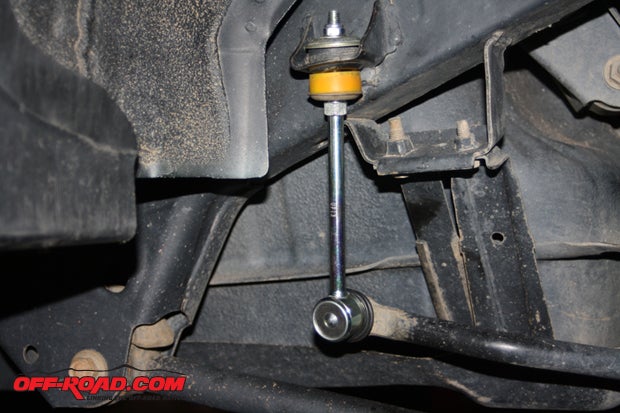
The same labor necessary to remove and replace the front drop-link can help lifted trucks improve sway-bar triangulation in the rear. Lifted third-gen 4Runners, for example, drive better with second-gen rear sway-bar drop-links (because theyre an inch longer). The longer links also keep the OE sway bar from hanging up on the e-locker actuator housing on the top of the 4Runners eight-inch diff. Be sure to use third-gen bushings, however.
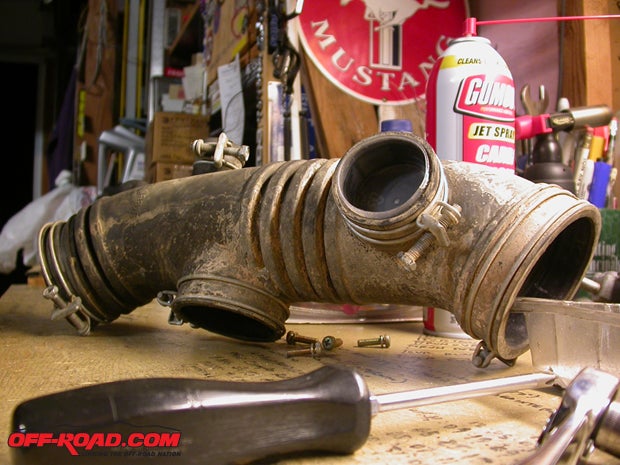
2. Intake Smoothing: 80 minutes, but only two of three ports got plugged.
There are good reasons to remove the OE resonator boxes from an intake. The factory places them strategically to reduce intake hum and buzz, but they block your access to other parts, like plus, coils and the throttle-body, as well as disturb smooth airflow into the engine. Because off-roaders cant hear resonance over tire noise, and making power is more important than, well, everything, we opted to trade some hum for some gumption. Plastic caps that were kicking around the garage were used to cork two of the three holes (because frugal), but the third has a few vacuum lines routed to it. That required a plug that allowed the vacuum nibs to see airflow without putting them directly in the intake stream (vacuum surge), which wasnt in the garage. Weve seen other folks do this with PVC plumbing parts, which is great if youre a plumber.
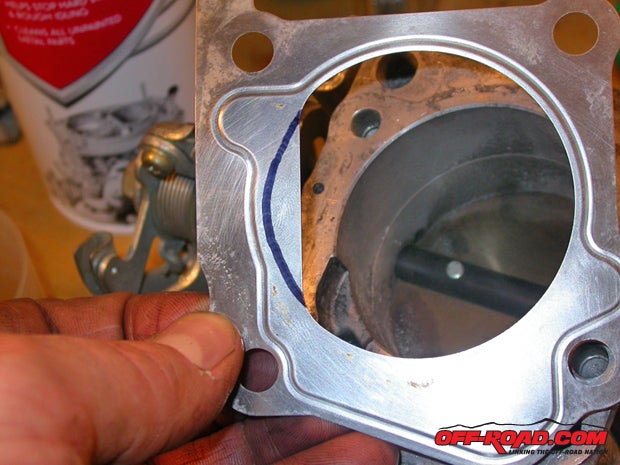
While airbox-to-throttle-body tube was out, we also cleaned the idle-air control valve (its magnetically actuated, and clogs easily) and trimmed the throttle-body gasket to remove a section of tin that obstructed airflow. However, we did not take time to clean anything else.
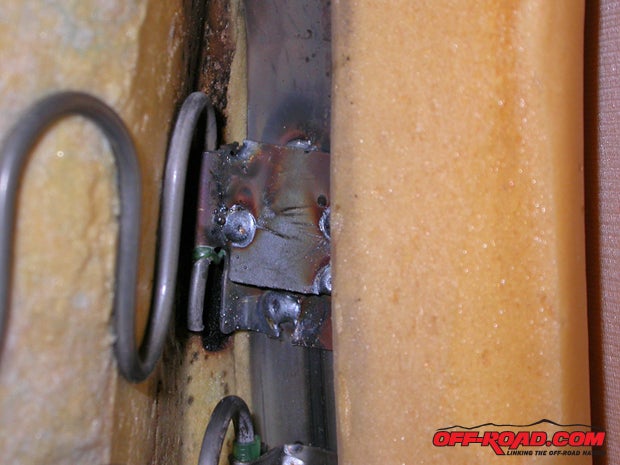
3. Broken Seat Spring: Two hours, including peeling apart the seat-back.
Itll happen to everyone eventually: you plunk down in the seat of your trail-worn rig and a spring breaks. You can ignore it and feel the weird gap where the spring used to be as it eats away at the seat foam, or you can pull back the seat cover (carefully) and throw a few targeted welds at the spring-to-frame tab. Make sure you cover all the surrounding interior surfaces to protect them from flying sparks, and youll probably scorch a bit of foam, but this is a little fix that could make you a lot happier.

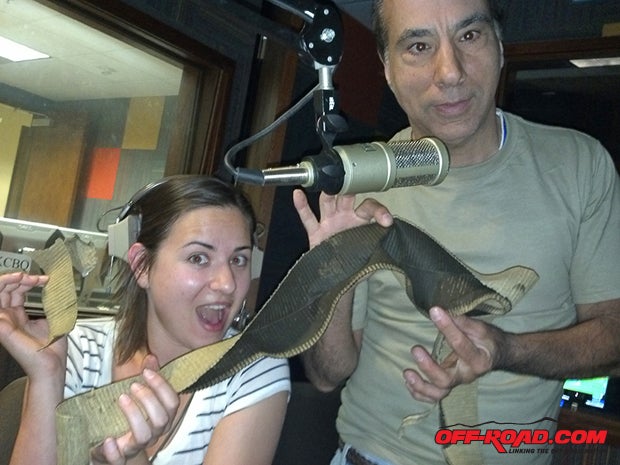
4. Fuel Filter Replacement: One hour, including dissecting the original afterwards.
This is one of those dont-worry-about-it maintenance items that either gets done too often by the dealership, or not often enough by you. Fuel filters are usually inexpensive for a used truck, and access is usually lying-in-the-driveway easy, so theres not much excuse not to replace them more often than every 200,000 miles. Also, fuel filters get dirty: fuel residue and the crap on the bottom of your fuel tank makes for a nasty sludge. We cut open the original filter after removing it because Sawzall and it got a guest-spot on a gearhead radio show (and stunk up the place).
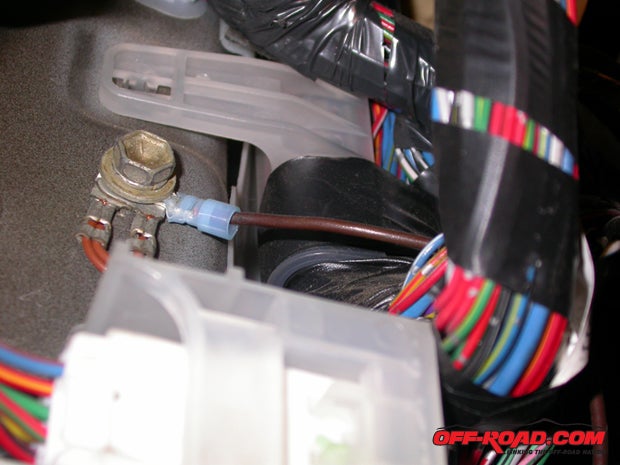
5. Grey-Wire Mod: 40 minutes, from pop-fastener to ground-ring.
Another one for the Toyota crowd... The grey-wire mod permits manual operation of the rear e-locker, for better control when on-trail as well as better two-wheel drive donuts. This mod cant be done without standing on the shoulders of those who took the time to do the math on which wire does what Toyota wiring diagrams are comprehensive, if not complicated so do your research beforehand.
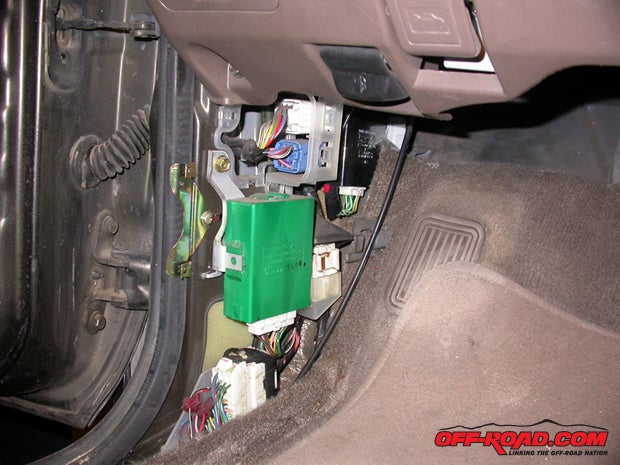
Once youve tracked down the grey wire (if youre a Tacoma) or the blue-yellow four-wheel drive indicator ground wire on a 4Runner and a body-ground that suits you, you know how to trick the four-by controller into thinking its always in four-by, and from there its an easy in-garage project. Do your peace of mind (and connectivity) a favor and solder connections wherever possible.
Dont let this hack fool you: its not just about Toyotas. Any truck owner whos spent time on the forums can find wiring mod after wiring mod thatll take less than one beers time to finish.
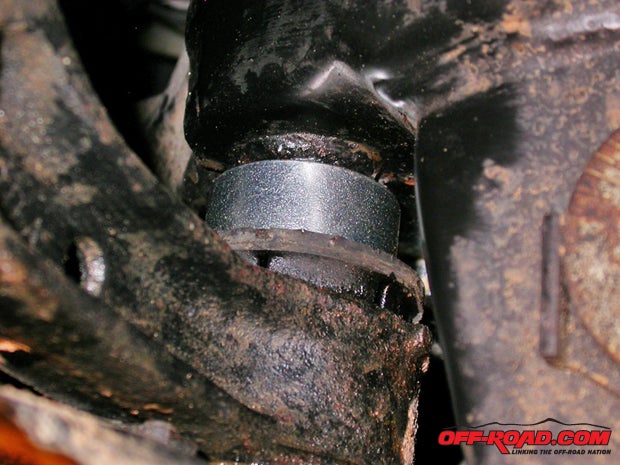
6. The Diff-Drop: Less than one hour.
How many times have you needed to fix truck issues caused by your modifications? It happens, and then it happens again: if you dont pay attention to collateral changes caused by your mods, theyre going to get you. If you move one in relation to another, youre upsetting the original manufacturers intended mechanical balance, and affecting more parts than the one youve modded. One of the classic self-inflicted fails is drivetrain angle be it half-shafts, driveshafts or intermediate shafts. Fortunately, lots of the fixes are relatively straightforward, such as the diff-drop mod for Toyotas, which pitches the front diff down a few degrees, and in turn reduces angles at the constant-velocity connections in the front half-shafts. The parts are simple, too shims or longer bolts or, in this case, a set of ¾ steel pucks.
If idle hands are the devils plaything, then wrenching on your truck is good for you. Of course, we all know what silliness weve gotten up to in the garage, so take the whole plaything mantra with a grain of salt. That said, virtually all of us have projects that need finishing (or starting) on your trail rig. Why not chase yourself out to the garage to fix a dent on your truck instead of putting a dent in the sofa?
|
Off-Road.com Newsletter Join our Weekly Newsletter to get the latest off-road news, reviews, events, and alerts! |
Follow @Off-Road
 Your Privacy Choices